


Disabling file sharing is a way to protect stored information on the computer, preventing other network users from accessing data and files remotely.
For previous versions of Windows go to the article Tip: How to disable file sharing on Windows
- Make sure you don't need the shares. Sharing files and printers allows stored files and printers installed on this computer to be accessed by other computers. Make sure you really don't have, for example, a printer linked to your computer that is used by others in the company.
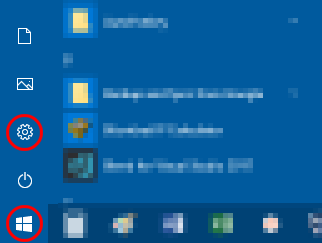
- Open the Start Menu and click the icon Settings, represented by a gear.
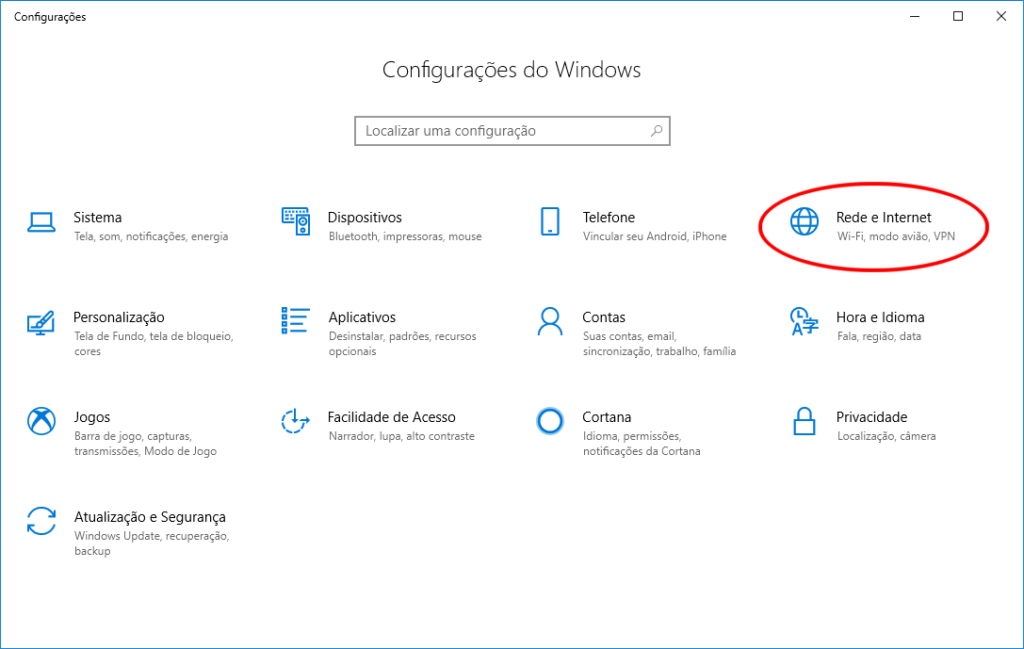
- In the Windows Settings window, click Network and Internet.
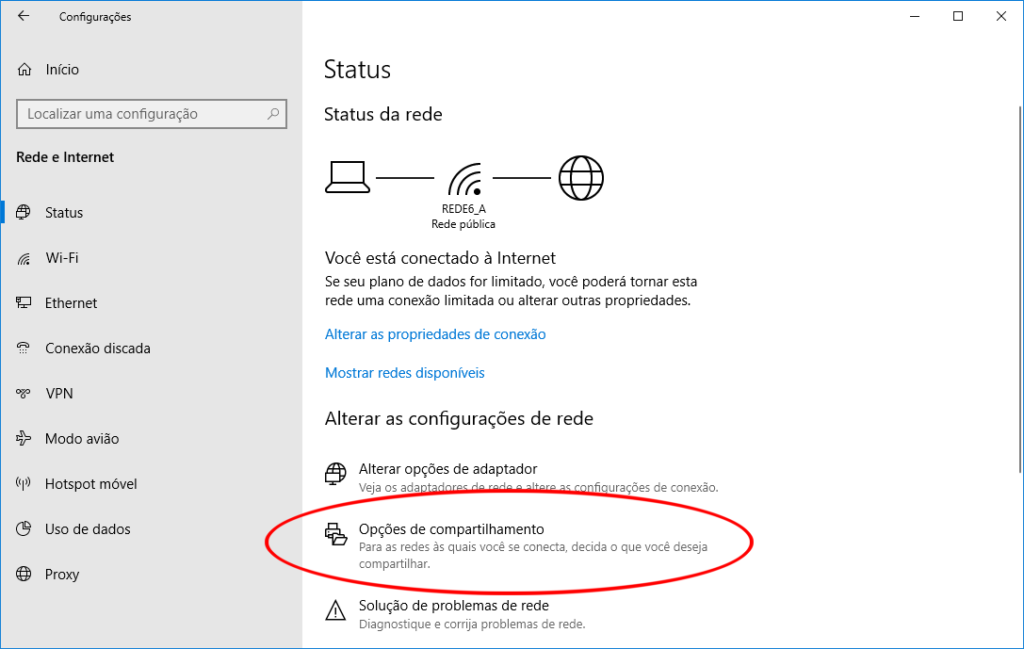
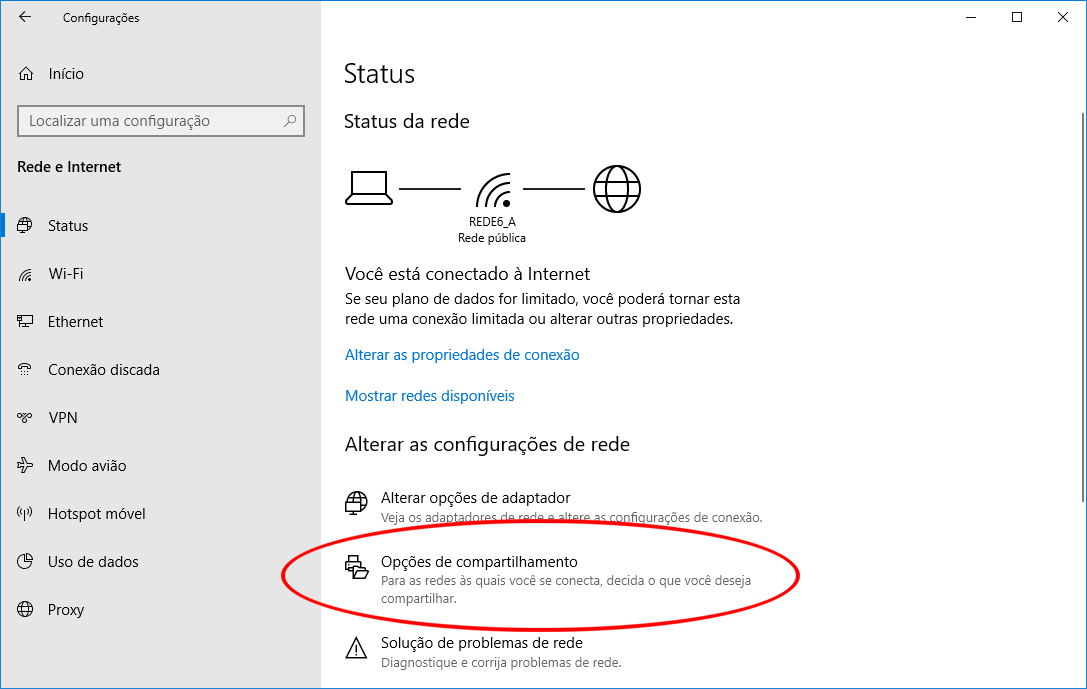
- In network and internet settings, click the item Sharing Options.
- In the Advanced Sharing Settings window, click privately and then select the option “ Disable File and Printer Sharing ”.
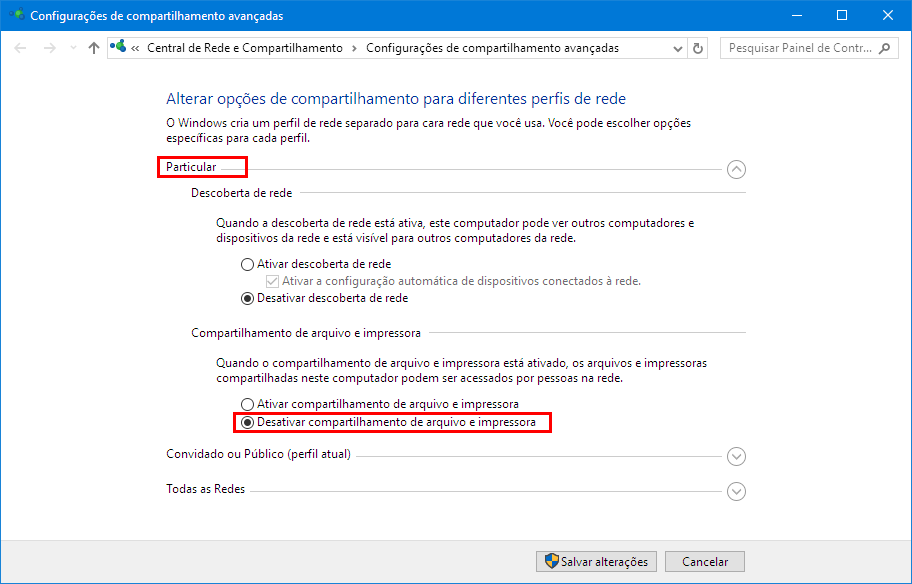
- Click on the “ Invited or Public ” profile and also select the “ Disable File and Printer Sharing ” option.
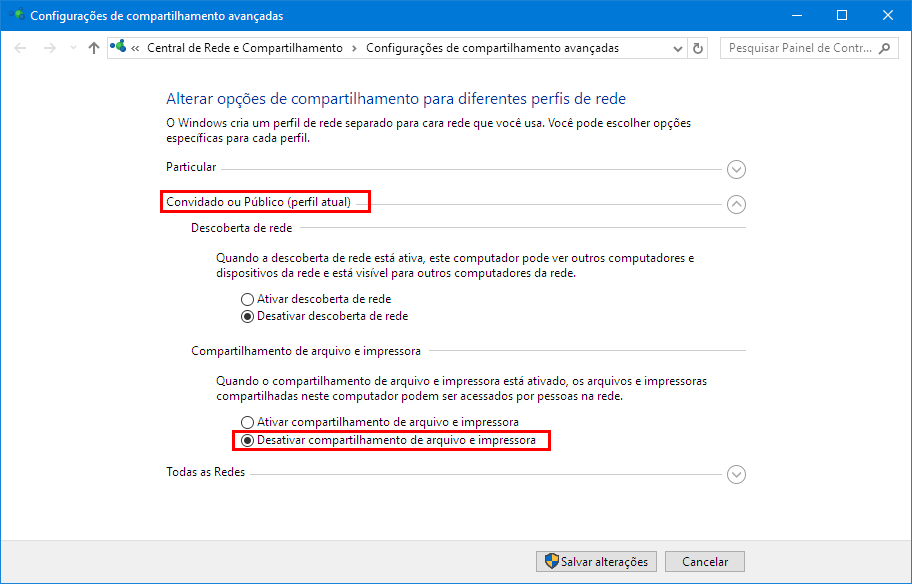
- Click the button Save changes. Ready!


To learn more about information security in companies, download free of our educational materials .


1 comment
Comments closed